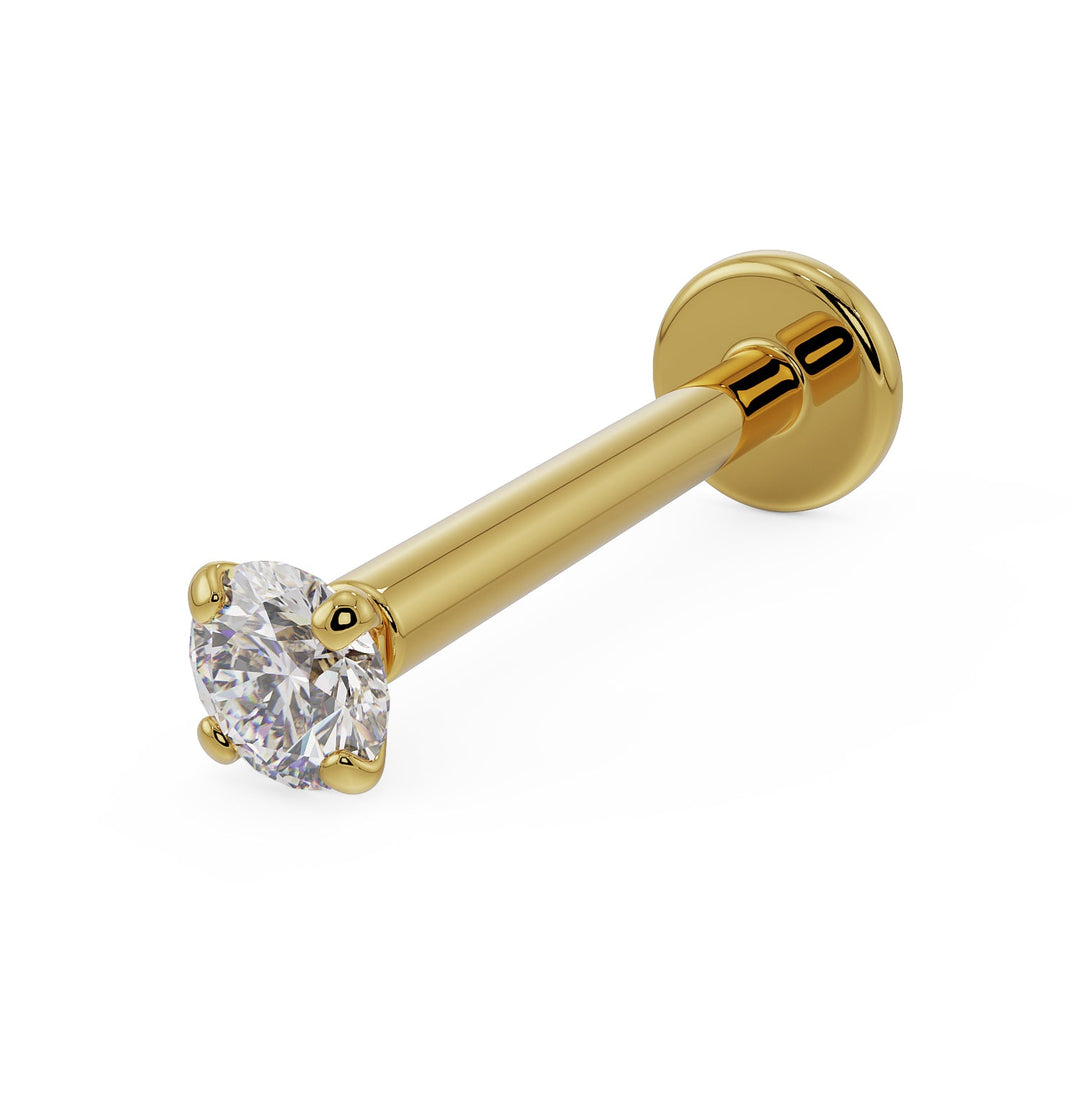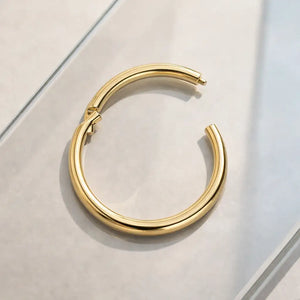


Lobe Piercing
💎 Fun fact: Still the most versatile base for stacked looks.

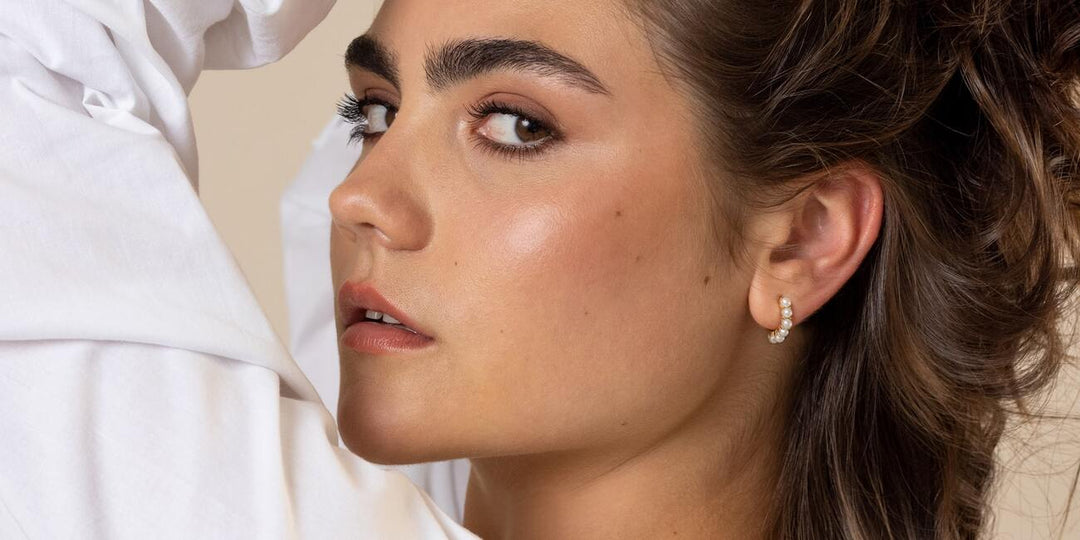
By far the most popular piercing site, the ear offers a plethora of piercing options. In fact, many people are now carefully planning out their cartilage piercings to create unique designs and interesting patterns. But, despite their prevalence, many ear piercings are actually quite difficult to heal. Here’s what you need to know:
Pain level and healing time greatly depend upon the location of your ear piercing. However, generally speaking, you can gauge the pain level based on whether you’re getting your fleshier lobe pierced or piercing the cartilage.
Lobe piercings will feel like a light pinch. They are widely regarded as one of the easiest piercings to get for this reason. This is why it’s often the gateway piercing found on adults and children alike.
Cartilage piercings are considered some of the most painful piercings that you can get. It does vary a bit depending on which cartilage piercing you opt for, but you can expect a substantial pinch. However, the expertise of your piercer will greatly affect your comfort level; an experienced piercer will be able to complete the piercing in one swift movement, and they’ll guide you through your breathing to help keep you calm.
The healing times for ear piercings vary greatly depending on their location.
Lobe piercings will take around 4 - 8 weeks to heal while cartilage piercings will take 3 - 9 months. The great discrepancy between these healing times has to do with the amount of blood flow in each area.
Cartilage is avascular, meaning that not a lot of blood flows through this area. Blood is essential for healing, so it takes much longer for cartilage to heal. For this reason, cartilage is also more susceptible to infection, which could extend the healing period. The lobe has a higher blood flow, so it doesn’t have the same issues.
Whether you get your lobe or cartilage pierced, the aftercare procedures will be the same. However, since cartilage is brittle and takes longer to heal, it’s more susceptible to complications like scarring, piercing bumps, and infection.

Caring for your ear piercing properly is the best way to ensure a smooth healing process and avoid complications. Whether it’s a lobe or cartilage piercing, consistency and gentle care are key. Here’s everything you need to know about ear piercing aftercare and what to expect while your new piercing heals.
There are several super-cool different types of ear piercings...
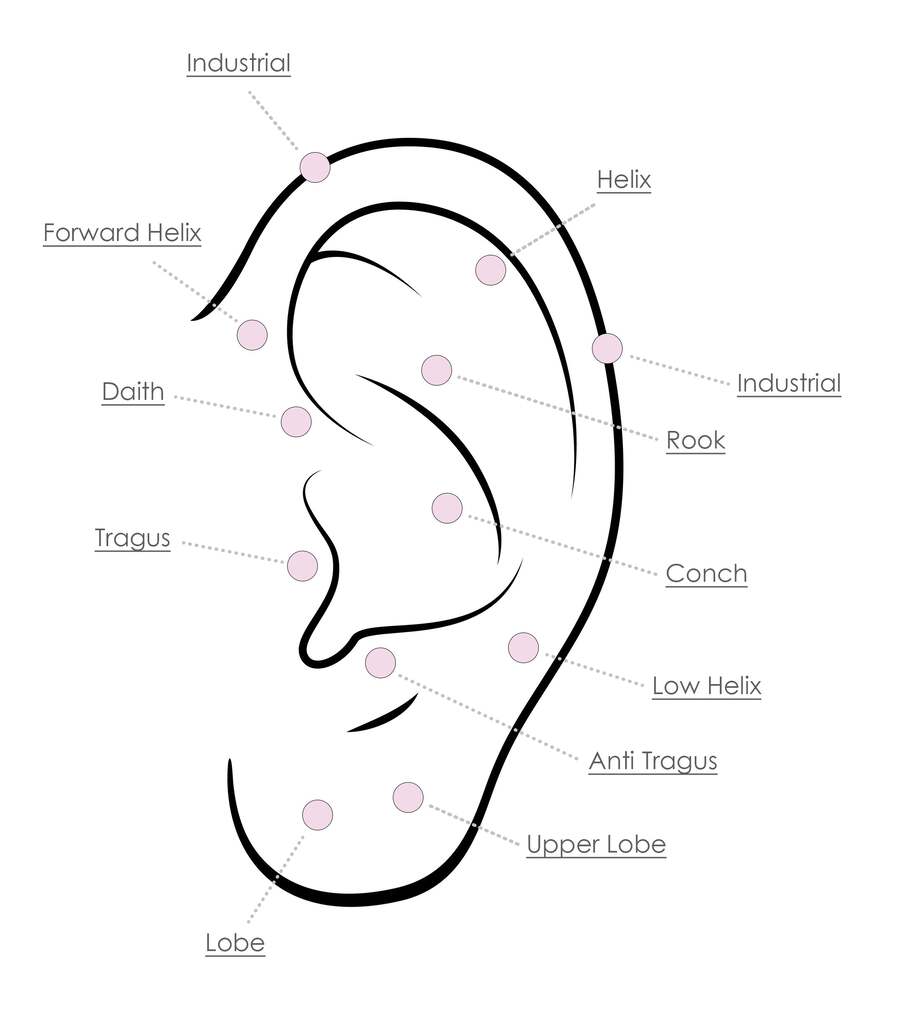
Each of these ear piercing locations has its variations in placement depending on the type of curation you are looking for, where you want to be pierced, and whether you want multiple piercings.
Placement, pain level, healing time, average cost, plus a fun fact for each piercing.
Use a piercing aftercare saline solution two to three times per day. Always choose a formula specifically made for piercings — not contact lens saline or wound wash — since those can contain additives that irritate healing tissue.
A safe piercing saline should contain only salt and water. Avoid solutions that list ingredients like tea tree oil or other harsh chemicals; these are caustic and may delay healing or cause irritation.
Try to avoid lying on your piercing while it heals. If you have both ears pierced, alternate sides as much as possible. Sleeping on a clean pillowcase each night helps minimize bacteria — or, if you prefer, cover your pillow with a clean T-shirt and change it daily.
If you can’t avoid sleeping on your side, a travel pillow can help. Place your ear in the neck opening so your piercing doesn’t touch the pillow or experience unnecessary pressure.
Your new piercing is more delicate than it looks. Hair, hats, masks, and even shirts can easily snag your jewelry, causing pain or tearing that may lead to scarring or piercing rejection.
If you have long hair, wear it up during the early healing weeks. Be mindful of removing clothing that could catch on your earrings, and avoid bulky accessories like scarves that brush against your ears.
It’s tempting to twist or spin your jewelry to “prevent it from sticking,” but this actually tears the healing skin and can introduce bacteria.
Instead, if you notice dried crusties, soak a clean paper towel in saline solution and gently dab the area without moving the jewelry. And if you tend to play with your earrings absentmindedly, try to break that habit — touching can cause irritation or infection.
Moisture trapped around a healing piercing can lead to irritation or bumps. Avoid swimming pools, hot tubs, or lakes until fully healed. After showering, dry your piercing completely using a low, cool setting on your hairdryer or gently pat with a clean paper towel.
Some side effects are normal and temporary, while others may require attention. Here’s what to look out for:
Piercing bumps are the most common cartilage piercing issue. They can develop from snags, improper cleaning, or irritation. There are three main types:
If a bump forms, visit your piercer — they can identify the cause and recommend treatment. Most piercing bumps resolve naturally with time and proper care.
Infections are rare when you follow good aftercare. They usually occur when a piercing isn’t cleaned consistently or is touched with unwashed hands.
Signs of infection include:
If you suspect an infection, see a medical professional immediately for evaluation and treatment.
Although uncommon for ear piercings, rejection can happen if the jewelry was placed too close to the edge or after a severe snag.
Warning signs include:
If you think your piercing is rejecting, visit your piercer promptly. They may recommend removing the jewelry to prevent scarring.


Keloids are often misdiagnosed in the piercing world. True keloids are caused by a genetic condition that affects about 10% of the global population. They are large, raised, discolored scars that can form after any skin injury — not just piercings.
If neither you nor your family members have ever had keloids, it’s very unlikely that your piercing bump is one. More often, it’s an irritation bump that will fade with proper care and patience.
Healthy piercings come down to consistency: clean gently, keep the area dry, avoid pressure and snags, and resist the urge to touch. With a little diligence, your ear piercing will heal beautifully — allowing you to enjoy your new jewelry for years to come.
Would you like me to format it further for blog upload (e.g., H2/H3 tags, SEO meta title + meta description, and a short intro paragraph for social previews)? That would make it ready to publish on FreshTrends.com.

Add Piercing Advisor™ at checkout for a personalized consultation — free with your order. Our jewelry specialists will help you choose the perfect size, style, and backing for your anatomy, ensuring a flawless fit from the start.
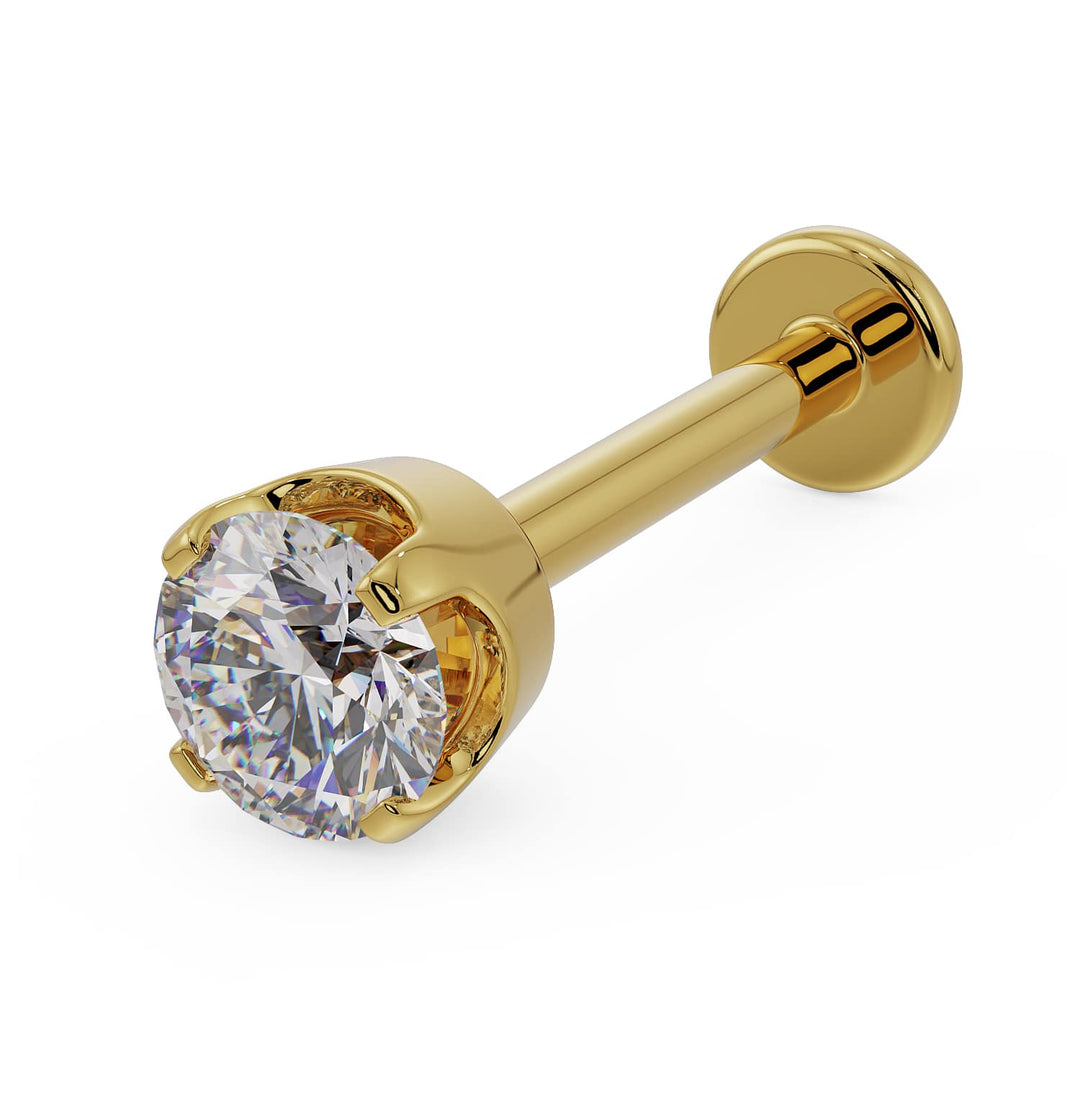
The first time you get your piercing, the jewelry will be a bit larger to accommodate swelling. It should only be worn for the first few weeks after you get your piercing, before switching to a smaller piece. Because starter jewelry is worn for such a short period of time, we recommend titanium. Titanium contains few alloys, so it won’t irritate the skin, and it’s inexpensive, making it an ideal starter jewelry material. Once the swelling has gone down, you can have your piercer switch your jewelry to a more permanent piece. In this case, we recommend nickel-free 14k gold. 14k gold contains as few alloys as possible while maintaining durability. (18k gold and 24k gold are quite malleable and dent easily, so they are not ideal for body jewelry.) 14k gold also has a luster that even trained eyes can appreciate, bringing your ear piercing style to an elevated level.
Since there are so many varieties of ear piercings, there are endless jewelry types that you can wear. The type of jewelry that you want could dictate the type of piercing that you get, since some piercing types can’t take certain jewelry styles.
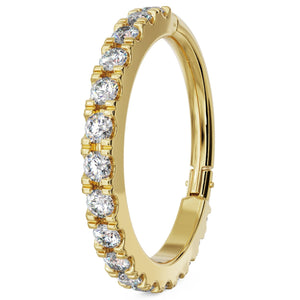
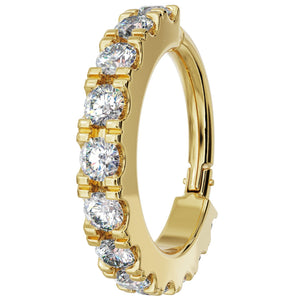
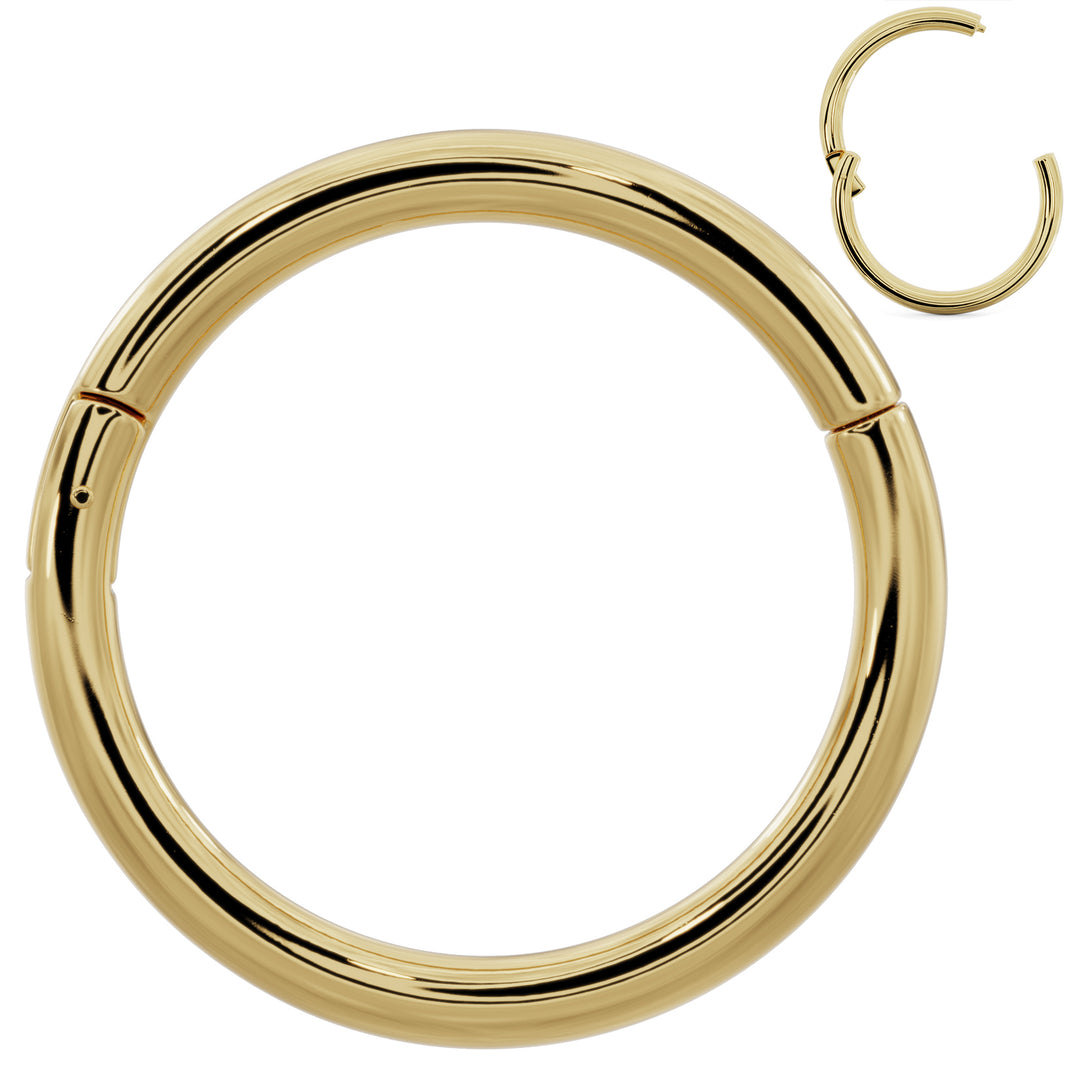
For piercings along the rim of the ear, you can get fancy with cartilage cuffs and shields. These wrap around the outside of your ear for an alluring look.