ProductContent

14k white gold diamond cross flat back labret stud, angled view showing 7-diamond setting and polished disc
14k yellow gold diamond cross flat back labret stud, angled view showing 7-stone setting and flat disc back
Diamond cross flat back stud shown in helix and lobe piercings on a model, styled with mixed gold earrings
Tiny 14k gold diamond cross flat back stud shown on a ceramic nose model for size and placement reference
14k rose gold diamond cross flat back labret stud, angled view highlighting warm gold tone and sparkle
Two 14k gold diamond cross flat back studs displayed on a white ceramic ear form with other gold jewelry
Diamond cross flat back stud in 14k gold shown in helix piercing on white ceramic ear prop, styled look
Two rose gold diamond cross flat back studs side by side, showing front and back disc from different angles
14k rose gold diamond cross stud styled in helix position on white ear form in a curated multi-piercing display
Diamond cross 14k gold flat back stud worn in helix and lobe piercings on a model with dark hair
14k white gold diamond cross flat back labret, side-angled view clearly showing post length and flat disc back
Exploded view of white gold diamond cross flat back stud showing threaded end separated from the labret post
Close-up front view of 14k white gold cross stud showing all 7 prong-set round diamonds in cross formation
Side profile of 14k white gold diamond cross flat back labret showing full post length and low-profile setting
Diagram comparing 16G and 14G internally threaded end versus 18G threadless push-pin post for gold flat back studs
Step-by-step guide showing how to insert and secure a threadless push-pin flat back stud, 4-step illustration

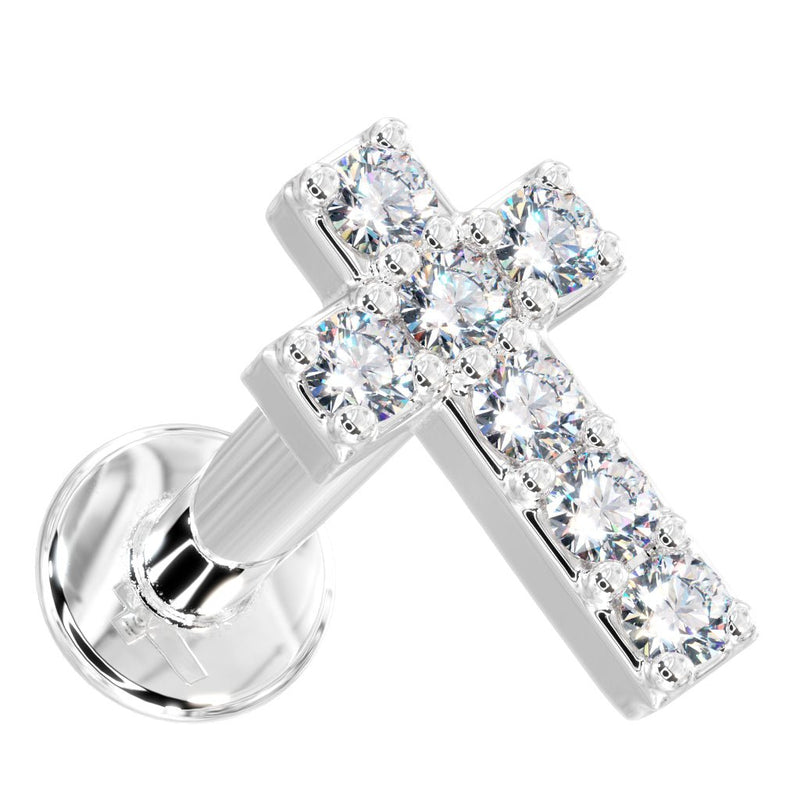
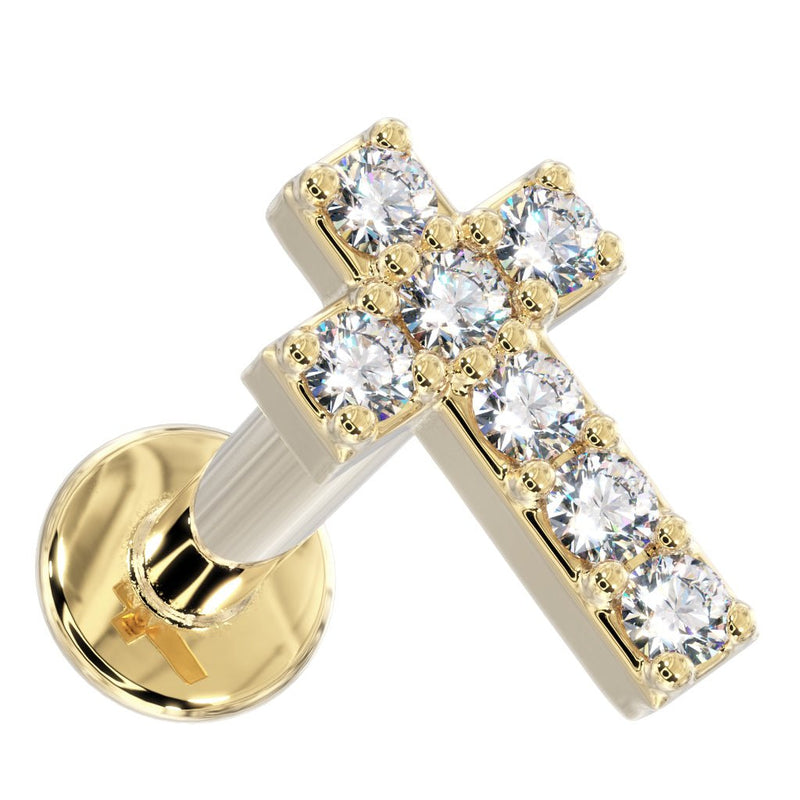
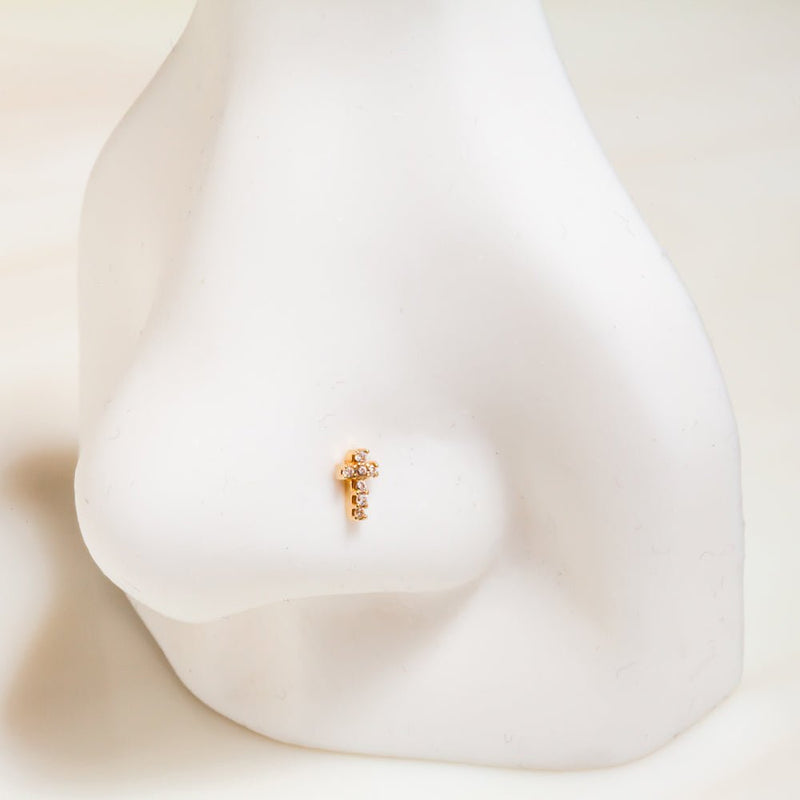
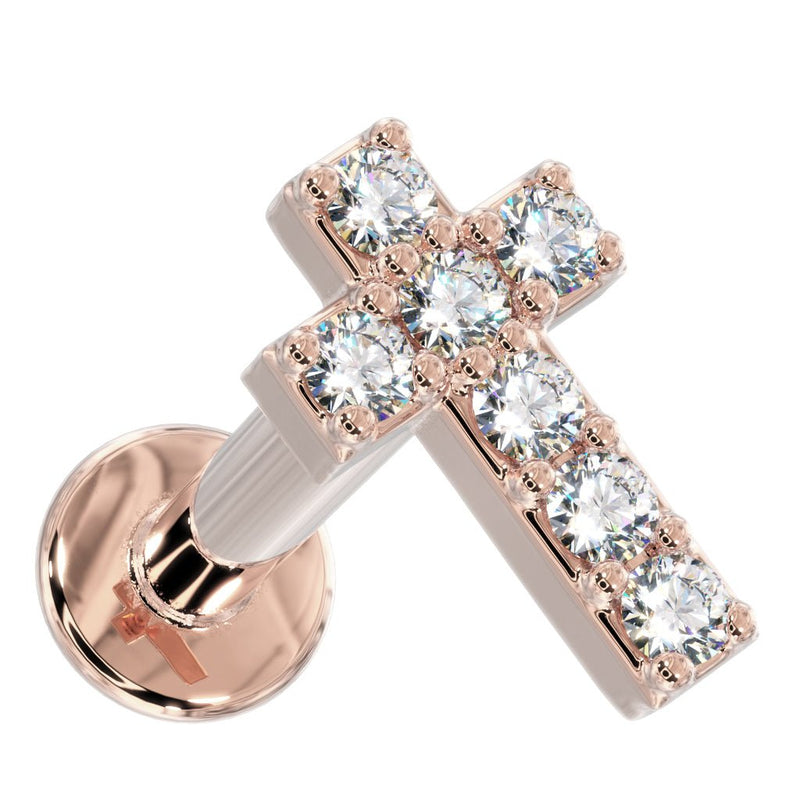
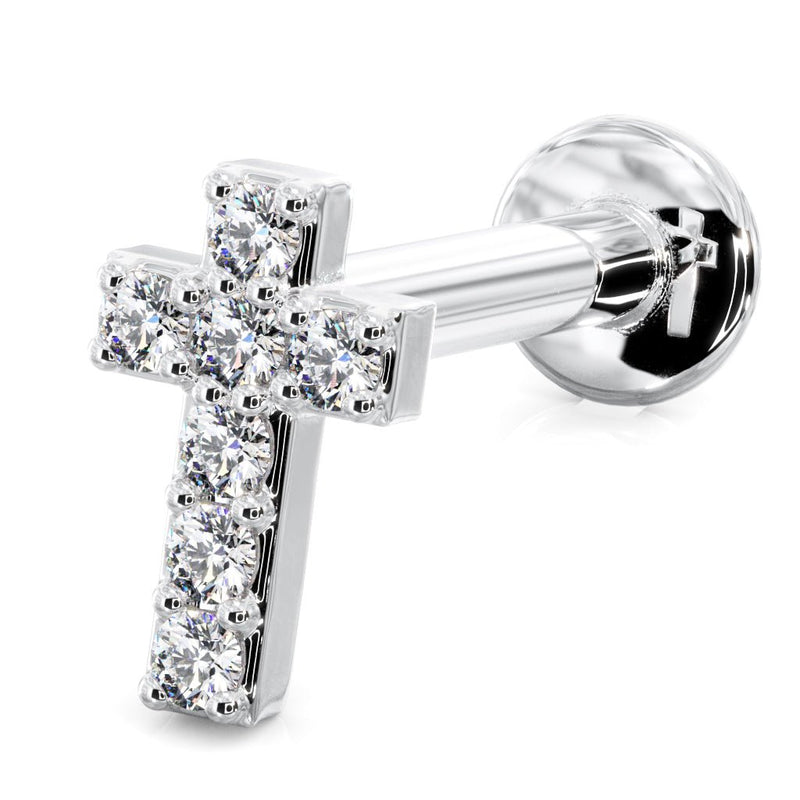
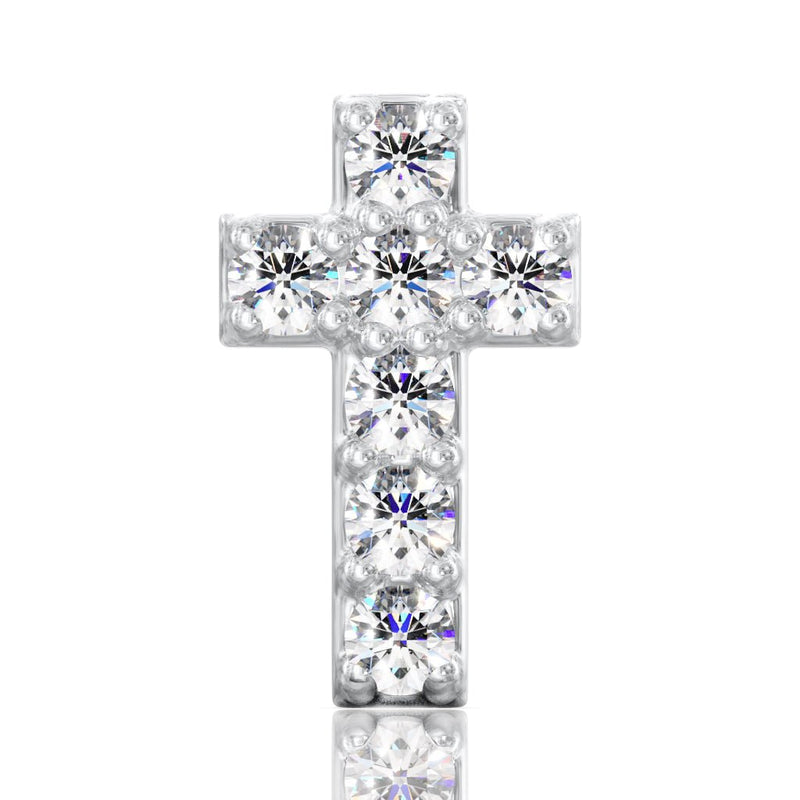
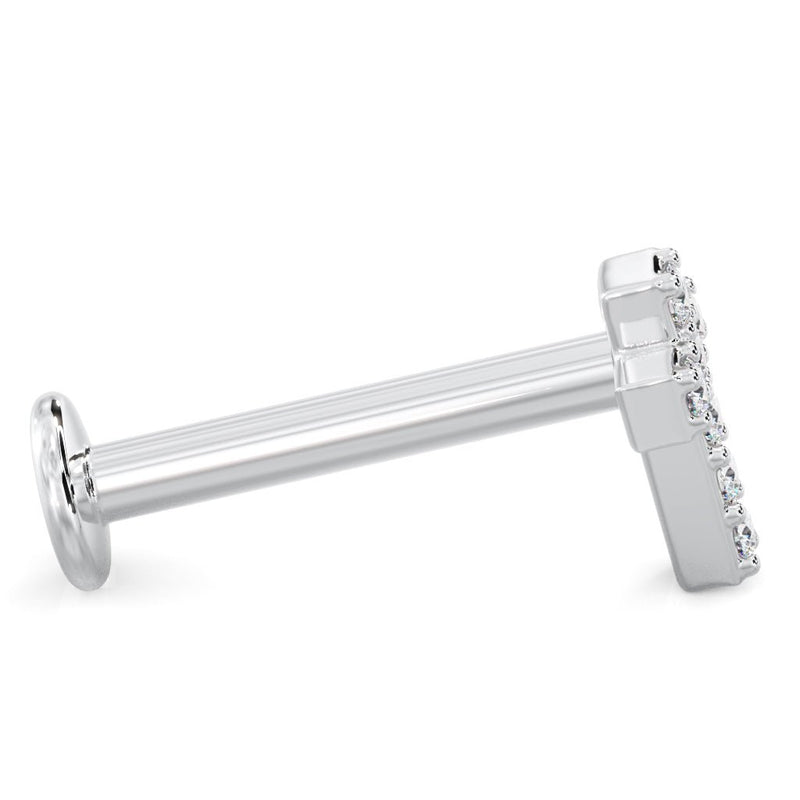
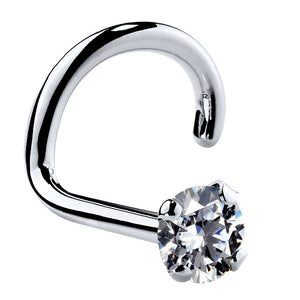
Tiny Diamond Cross 14k Gold Flat Back Stud

$437 $718 Est. Retail Value
14k white gold diamond cross flat back labret stud, angled view showing 7-diamond setting and polished disc
14k yellow gold diamond cross flat back labret stud, angled view showing 7-stone setting and flat disc back
Diamond cross flat back stud shown in helix and lobe piercings on a model, styled with mixed gold earrings
Tiny 14k gold diamond cross flat back stud shown on a ceramic nose model for size and placement reference
14k rose gold diamond cross flat back labret stud, angled view highlighting warm gold tone and sparkle
Two 14k gold diamond cross flat back studs displayed on a white ceramic ear form with other gold jewelry
Diamond cross flat back stud in 14k gold shown in helix piercing on white ceramic ear prop, styled look
Two rose gold diamond cross flat back studs side by side, showing front and back disc from different angles
14k rose gold diamond cross stud styled in helix position on white ear form in a curated multi-piercing display
Diamond cross 14k gold flat back stud worn in helix and lobe piercings on a model with dark hair
14k white gold diamond cross flat back labret, side-angled view clearly showing post length and flat disc back
Exploded view of white gold diamond cross flat back stud showing threaded end separated from the labret post
Close-up front view of 14k white gold cross stud showing all 7 prong-set round diamonds in cross formation
Side profile of 14k white gold diamond cross flat back labret showing full post length and low-profile setting
Diagram comparing 16G and 14G internally threaded end versus 18G threadless push-pin post for gold flat back studs
Step-by-step guide showing how to insert and secure a threadless push-pin flat back stud, 4-step illustration
i
Made to order: Ready in 1–2 weeks

Solid 14k Gold

Jeweler Direct

Handmade

Piercing Advisor

Ethical Luxury

Lifetime Warranty

Product Description

Description

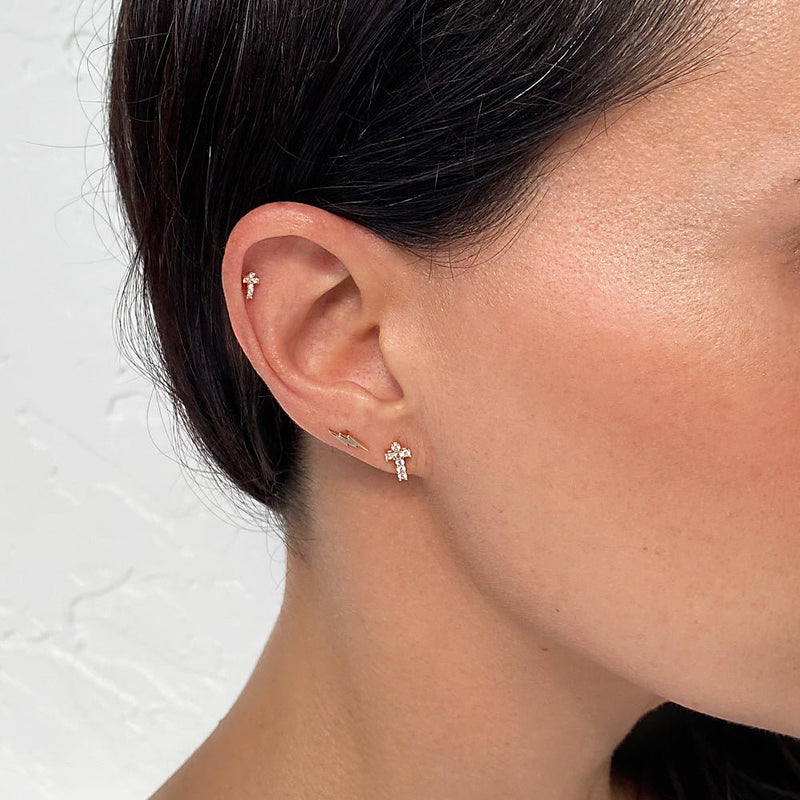
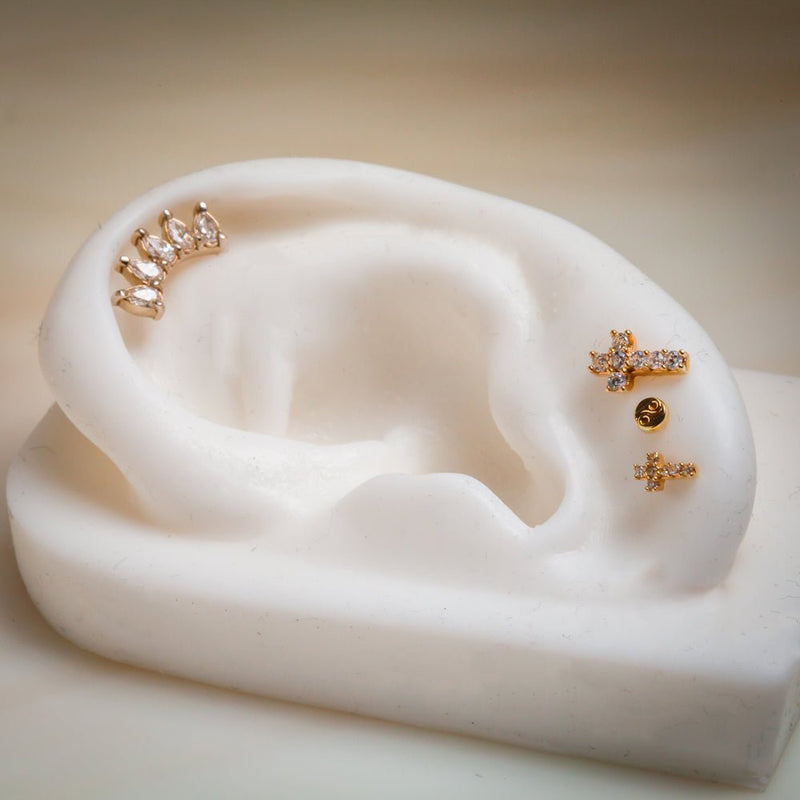
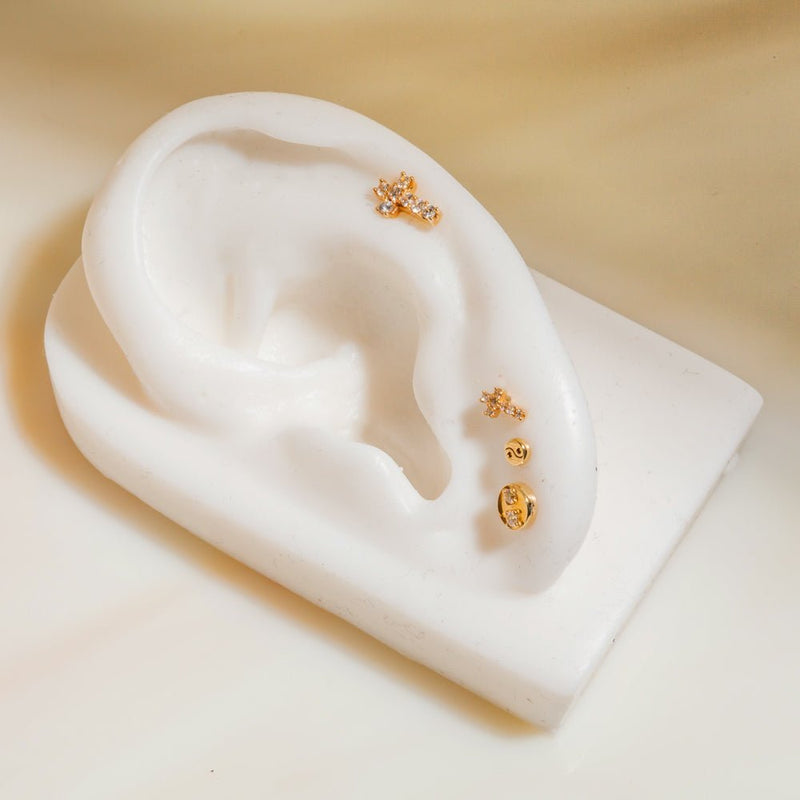
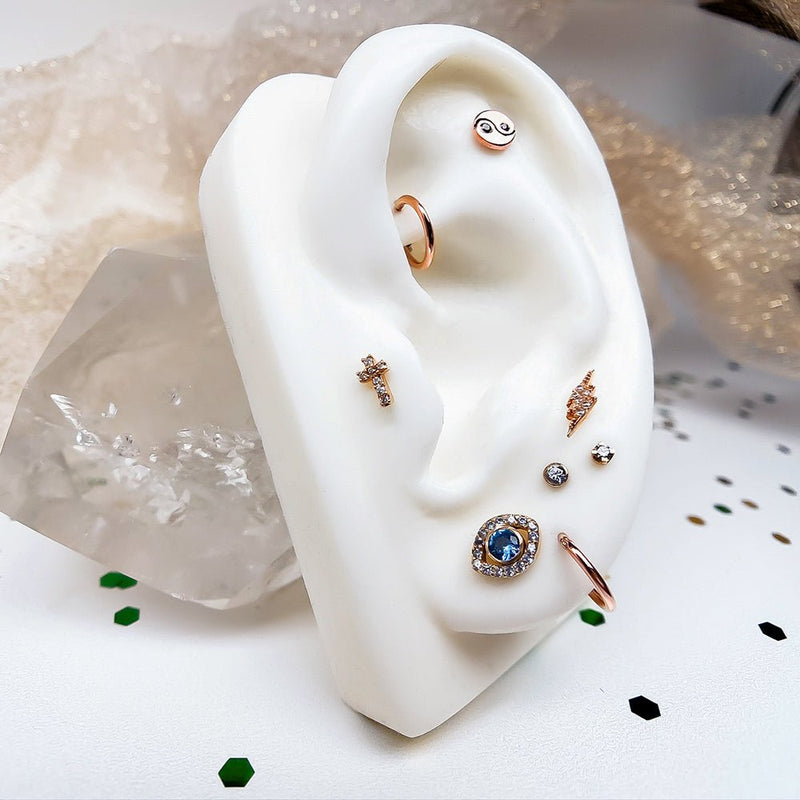
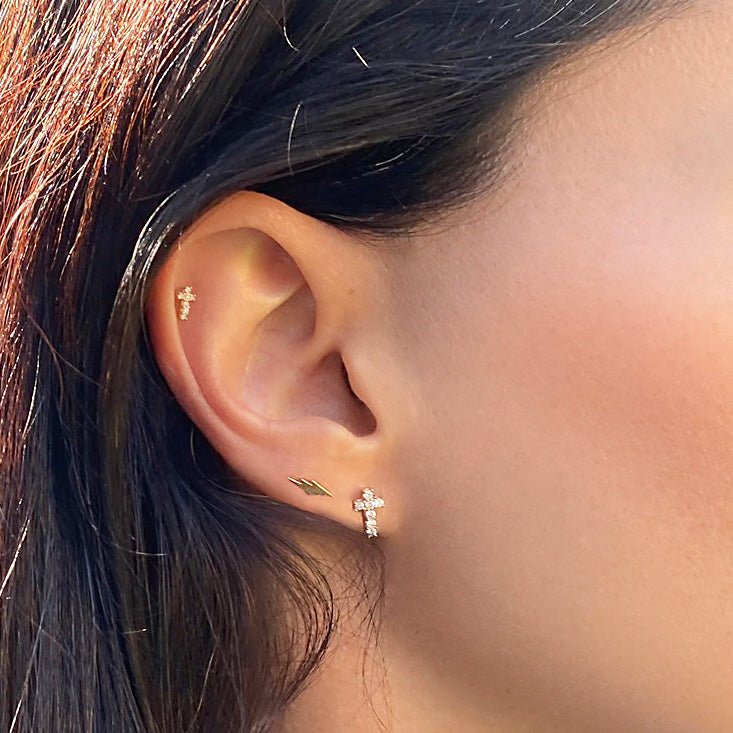
At only 3x5mm, this cute cross is the perfect piece for those who are looking for smaller styles. With seven diamonds expertly cut to achieve stunning sparkle, this tiny piece refuses to be ignored. This dainty flat back is an adorable piece of jewelry ideal for piercings like the helix, forward helix, or tragus.

  • Cross measures 3x5mm
  • Genuine diamonds 
  • Genuine diamonds - 0.035 ctw (7 x 1.0mm)
  • Nickel-free solid 14k gold
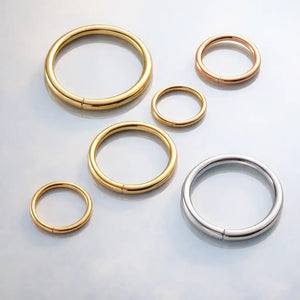
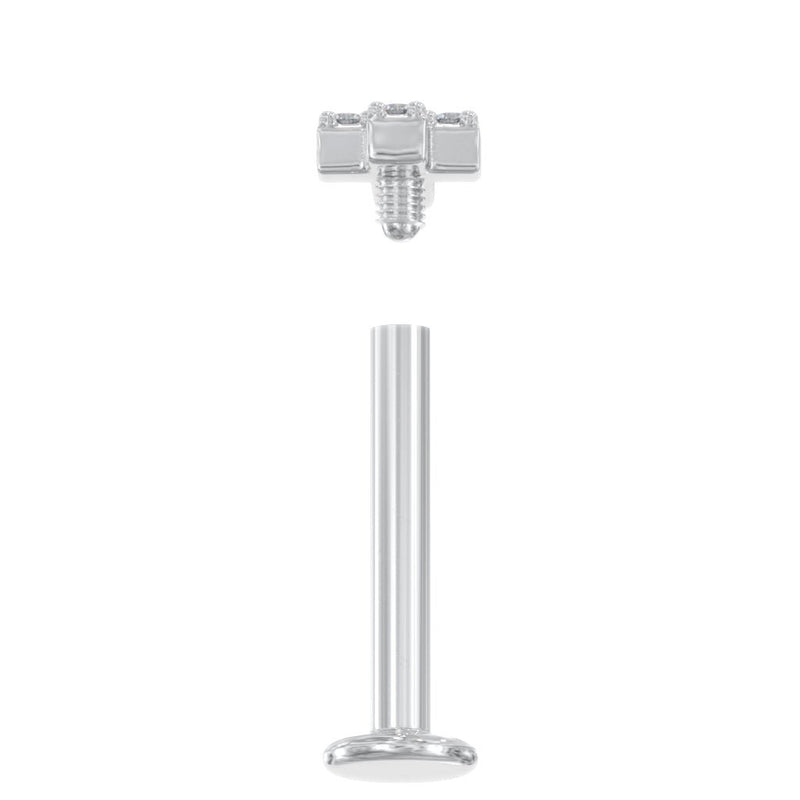
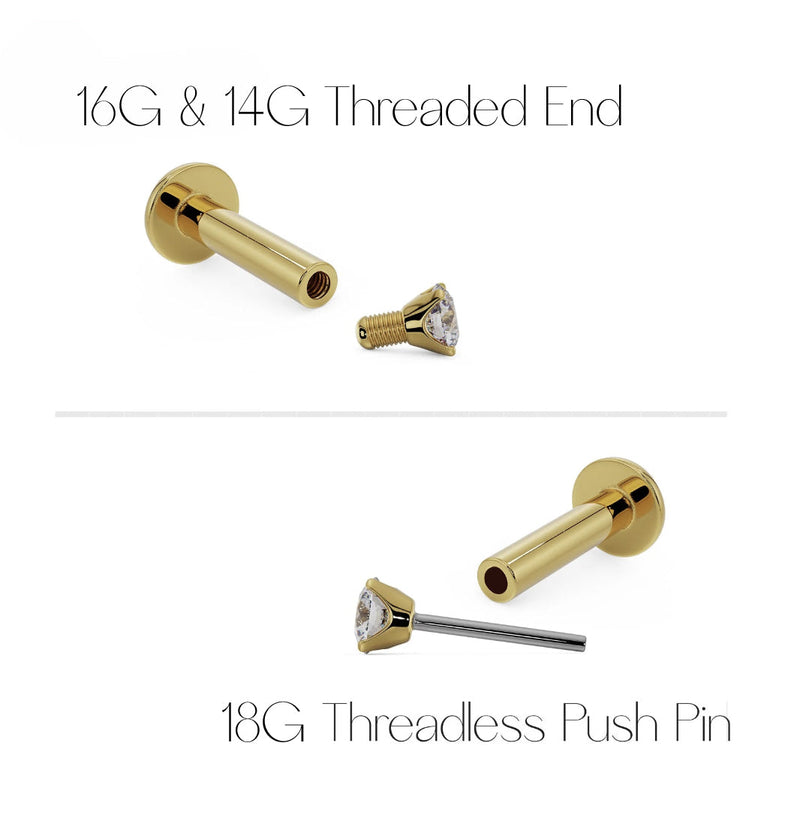
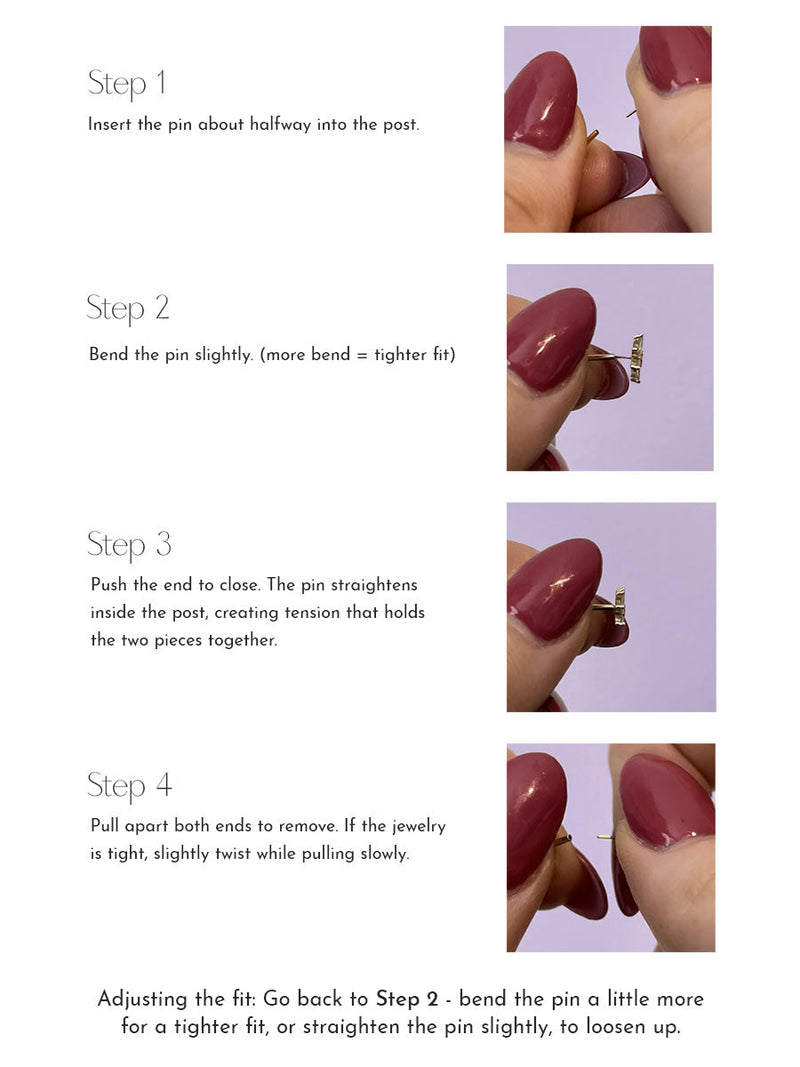
  • 18G features a Press-fit threadless post with a push-pin end.
  • 16G & 14G feature an Internally threaded post with a threaded end.
  • Available in 14k white, yellow, and rose gold
  • Handmade in the USA
Product Details
Materials
Shipping

Jeweler-Direct means crafted, just for you. By skipping the middleman, we eliminate traditional retail markups — so you can enjoy luxury piercing jewelry without the inflated price.

Fresh Trends Price — $359

Est. Retail Value — $718

Fresh Trends Piercing Advisor™

Our complimentary Piercing Advisor™ service ensures your jewelry fits perfectly. After your order, a specialist reviews your selection, verifies your size, and guides you through any adjustments. For jewelry to be eligible for an adjustment, FreshTrends Piercing Advisor™ must be added to your cart at the time of original purchase.

Why It Matters:

• Anatomy varies, and size is crucial

• A specialist confirms your fit before we craft your piece

• You get a flawless, comfortable result—every time

Piercing Advisor Service

Handcrafted Just For You!

Our in-house jewelry designer and artisans create one-of-a-kind piercing jewelry from solid 14k gold and 950 platinum, always 100% nickel-free.

Each piece is made-to-order and never mass-produced, allowing for many gemstone and size options for the perfect fit. We take pride in hand-crafting fine body jewelry in the USA.

Fresh Trends Fine Jewelry

Because every piercing deserves its masterpiece.

Ready to Gift

Your jewelry arrives in our signature packaging—a keepsake box with a soft green pouch and a Wear & Care Guide. Premium pieces are showcased in an LED presentation box that elevates every gifting moment.

Fresh Trends Packaging

Fresh Trends® Lifetime Warranty

Every piece we craft is designed for lifelong wear. If your jewelry ever shows a manufacturing defect, we’ll repair or replace it—complimentary, for life.

Lifetime Confidence. Handmade Quality.

Gold earring with clear gemstones on a soft pink fabric background

Sustainable Jewelry

We use recycled metals to help reduce the carbon footprint of manufacturing and the negative impact of metal mining.

We plant one new tree per order in partnership with Ecologi to help restore nature and reduce the carbon footprint of our operations.

ecology

Recently Viewed

Shop The Look