PageContent
The Surface Hip Piercing: Everything You Need to Know
When you want a piercing you can show off with crop tops and bikinis, but the belly button piercing just doesn’t cut it, the hip piercing just might offer the look that you’re looking for.
Located on either the right or left hip or both, the hip piercing is usually placed diagonally along the natural line of your hip. The bead ends of the jewelry peeking from your hip is sure to amaze and baffle, leaving admirers to wonder how you were able to pierce your hip.
As it turns out, surface piercings aren’t that much more difficult than other piercing types. Piercing your hip might look like a badass move, but in reality, it’s a fairly simple piercing to get. However, its location makes it susceptible to snagging, and if it’s not pierced correctly, it will be rejected, so you need to make sure that you do your research before undergoing this piercing.
Here’s everything you need to know about the hip piercing.
How Much Do Surface Hip Piercings Hurt?
The pain level of the hip piercing will depend upon your personal pain tolerance and the piercer’s expertise.
The hip piercing might look incredibly painful, but the procedure is actually quite simple. The piercer will use clamps to pinch the skin where you want to be pierced, and they will push the needle straight through, followed by the jewelry. Easy as that!
Some piercers might use a scalpel to perform the piercing. A scalpel may sound scary, but its razor sharp edge actually offers a less painful piercing process.
Talk to your piercer before you undergo the procedure to discuss their preferred methods, and have them walk you through the process. An experienced piercer will help you feel at ease.
Surface Hip Piercing Healing Process
Initial healing could take up to 3 months, and it could take up to one year to heal fully. Healing times depend greatly upon your personal hygiene and keeping up with aftercare practices as well as your body’s ability to heal.
In order to enjoy the fastest healing period possible, listen to your piercer’s specific instructions, and don’t stop aftercare practices until you’ve fully healed. Your piercer will likely give you a timetable, but if in doubt, don’t be afraid to have your piercer look at your hip piercing to confirm that healing is done and that you can stop your aftercare practices.
It will feel fully healed before it actually is, and if you stop aftercare practices before it has healed and get an infection, it could push you back in the healing process.
Surface Hip Piercing Aftercare
It might look as though the surface hip piercing would have a complicated healing regimen, but it doesn’t differ much from standard piercing aftercare. The biggest problems you’ll face are fully clearing the long fistula (piercing hole) of foreign entities and snagging the jewelry on your clothing. Here are some tips for happy healing.
Use a compress to clean your surface hip piercing 2 - 3 times daily. Since the hip piercing is located on a flat surface, it will be difficult to conduct saline or sea salt soaks necessary to fully flush out the fistula. You could fill a shot glass with a sea salt or saline solution and press the lips to your hip, suctioning it to your body, but the angle of the hip might make that difficult. Instead, soak a clean paper towel with the sea salt or saline solution, and press the paper towel to the piercing for 3 - 5 minutes. Remember that this takes the place of a saline bath, so you should get the paper towel sopping wet. It’s important that you use a paper towel because it harbors fewer germs than a cloth towel and is less likely to snag the jewelry.
Be careful with your clothing. Since surface piercings appear in flat areas of the body, they have a higher chance of rejection than other piercing types. If the jewelry is tugged or snagged, it increases this risk. Take care while changing your clothes, and make sure that your waistband doesn’t press against the jewelry. If you’re concerned, you can put a bandage over the jewelry to avoid snagging while it heals. Make sure, however, that the bandage doesn’t press against the jewelry and that you don’t wear the bandage for too long.
Don’t use non-piercing products on or around the jewelry. This includes body wash, sunscreen, and lotion. These substances contain chemicals that could irritate the healing piercing, encouraging infection and scarring. When you shower, soap suds will likely wash over your piercing, and that’s okay. Just make sure that you fully rinse the piercing and carefully pat it dry immediately afterward.
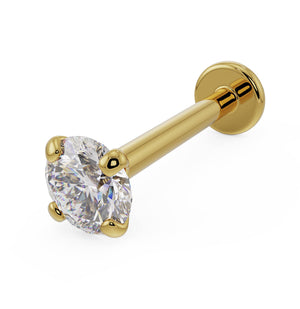
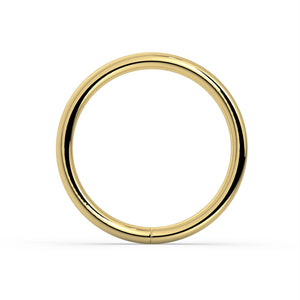
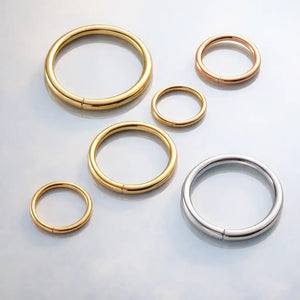
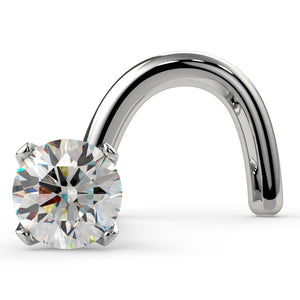
Surface Hip Piercing Jewelry Styles
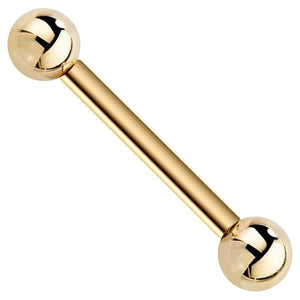
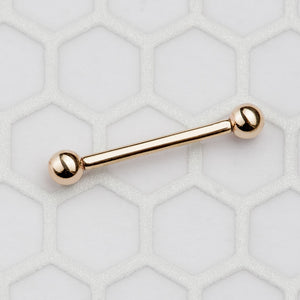
All surface piercings can only accept specific jewelry types. Depending on your anatomy, your piercer might recommend a staple barbell (a piece of barbell body jewelry shaped like a staple and made specifically for surface body piercings) or a curved barbell. The type of barbell will depend on the shape of your hip and which one will fit more naturally in the piercing. If the jewelry doesn’t fit correctly, it increases the risk of piercing rejection.
Although the jewelry types are limited, the decorations abound. Choose standard bead ends, gemstones, pearls, or opals, or have some fun with charm ends.
While it is possible to change the jewelry on your own, surface piercings are difficult to change, and you might need to seek the help of a piercer. They have special tools that make the process easy. If you do it on your own, try not to mess with the piercing too much; if you damage or tear the piercing, it could lead to scarring and/or rejection.
Why Shouldn’t I Get A Surface Hip Piercing?
Surface piercings need to be pierced deeply enough to avoid rejection. If you have bony hips, your piercer might not be able to perform this piercing. If this is the case, ask about surface belly piercings, instead, for a similar style.
Conversely, if you have a little pudge, or if you tend to have weight fluctuations, then you might want to consider another piercing. While the hip piercing is possible, it might not offer the aesthetic you’re looking for. Additionally, the hip piercing will stick out a little more, encouraging snagging and tearing.
If you’ve struggled with piercing rejection in the past, then you might want to stay away from surface piercings in general. Piercing rejection largely occurs when the piercing wasn’t pierced properly, but some people can be more susceptible to it than others. If you’ve had more than one piercing done by more than one piercer get rejected, then you might see rejection again with the hip piercing.
How Much Will It Cost?
It will cost between $50 - $100 for a single hip piercing, usually not including the jewelry. Since the hip piercing has a high risk of rejection, you want to choose an experienced piercer who has done many surface piercings before to ensure that it’s done correctly. Therefore, you should probably budget more than $50 for your piercing.

Piercing Advisor™ — Complimentary Concierge Service
Add Piercing Advisor™ at checkout for a personalized consultation — free with your order. Our jewelry specialists will help you choose the perfect size, style, and backing for your anatomy, ensuring a flawless fit from the start.
Best Selling Jewelry
Piercing Jewelry Resources

Body Jewelry Materials
Learn about the precious metals and gemstones that make every Fresh Trends piece exceptional. Discover why we use only implant-grade materials designed for long-lasting quality, comfort, and beauty.

Behind the Scenes
Take a look inside our studio to see how each piece of jewelry is brought to life. Experience the artistry, craftsmanship, and attention to detail that make every design uniquely Fresh Trends.

The Perfect Fit
Fresh Trends jewelry is handmade to order, giving you the perfect size and fit for your unique anatomy. Explore detailed size measurements and customization options in our Size Help Chart.


